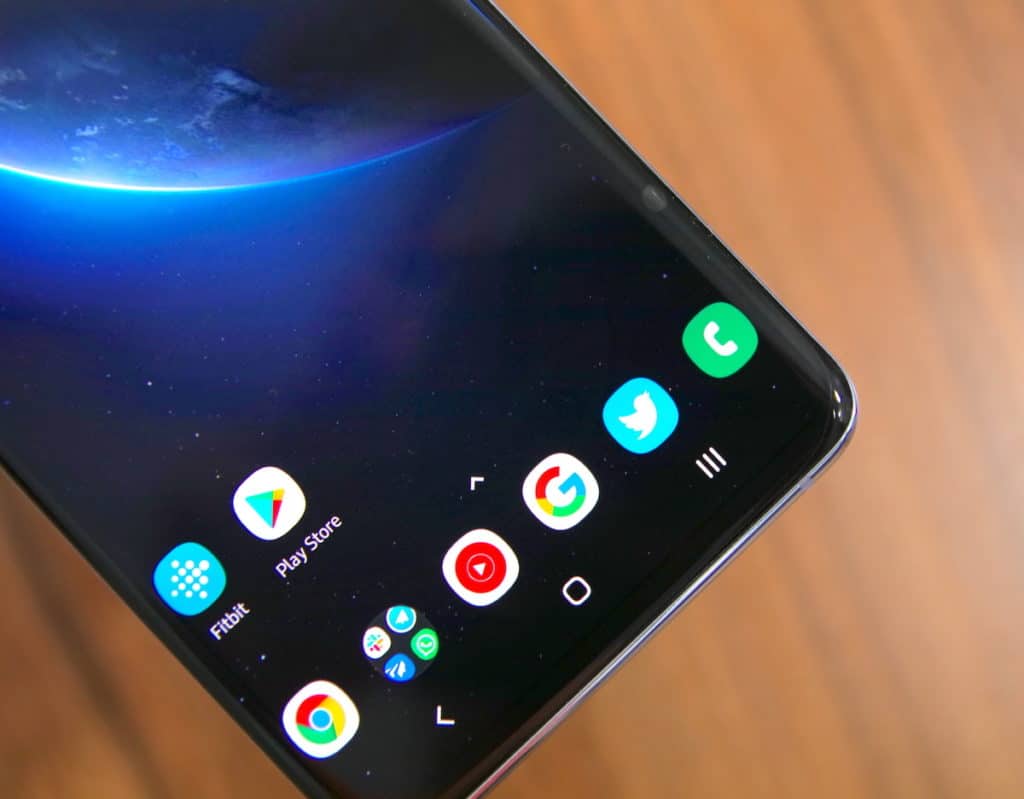
Samsung yesterday officially started the Android 10 + One UI 2.0 beta program for the Galaxy S10 series. For now, the company has only launched the beta program is selected markets of the world. However, if you wish to, you can install the Android 10/One UI 2.0 beta firmware on your Galaxy S10e, S10 or S10+ in just a few simple steps.
The entire process is relatively easy provided you know your way through ADB. If not, it is recommended that you wait for Samsung to expand the beta program to your country. If you cannot wait to try out Android 10 and One UI 2.0 on your Galaxy S10 though, just follow the guide below.
Sideloading Android 10/One UI 2.0 Beta Firmware on Galaxy S10: Things to Know
- The method below will only work for Exynos variants of the Galaxy S10e, Galaxy S10, and Galaxy S10+.
- Your data will remain intact and not be wiped during the upgrade procedure. However, if you wish to downgrade to Android 9.0 Pie then you will have to format your phone which will erase all your data.
- The upgrade process will not trip Knox or void the warranty of your Galaxy S10.
- Your Galaxy S10 must be running the October security patch. If you are on an older firmware, the upgrade process will fail.
- The steps below will only work for Galaxy S10 devices with Multi-CSC OXM. You can check this by entering *#1234# in the Dialer app of your Galaxy S10. If the CSC shown contains ‘OXM,’ you can go ahead and follow the upgrade process below.
- Since you are sideloading the update, you will not get future OTA updates from Samsung. Instead, you will have to manually sideload every new beta firmware release.
How to Install Android 10/One UI 2.0 Beta Update on Galaxy S10e, Galaxy S10 or Galaxy S10+
Step 1: Download ADB/Fastboot on your PC from here. Extract the contents of this zip file inside a new folder ‘galaxys10’ on your desktop.
Step 2: Download the Android 10 + One UI 2.0 zip file from here and transfer it inside the same ‘galaxys10’ folder. Make sure to rename it to ‘update.zip.’
Step 3: On Windows, Shift + right-click the folder and select the Open Command Prompt here option.
If you are on a Mac, simply open Terminal, type “cd” followed by a space and then drag and drop the ‘galaxys10’ folder inside the window. This will paste the path of that folder after which you just need to press enter to navigate to the folder inside Terminal.
Step 4: Switch off your Galaxy S10. Then press and hold the Power + Bixby + Volume Up buttons simultaneously to boot it into Recovery mode. Connect your phone to your PC now.
After that, use the volume keys and select the Update via ADB option.
Step 5: Run the following command in the Command Prompt/Terminal window:
./adb devices
The ADB daemon should start and you will see your Galaxy S10.
Now run the following command:
./adb sideload update.zip
Press enter to start the sideloading process. The entire sideloading process can take up to 5 minutes and you are not supposed to disconnect your phone from the PC during this time. If the update is successful, your device will automatically boot into Android 10/One UI 2.0.
One UI 2.0 brings new and improved navigation gestures, smoother animations, revamped notifications, and more. If you end up following this guide to install the Android 10 + One UI 2.0 beta firmware on your Galaxy S10, drop a comment and let us know how the entire process went for you.


