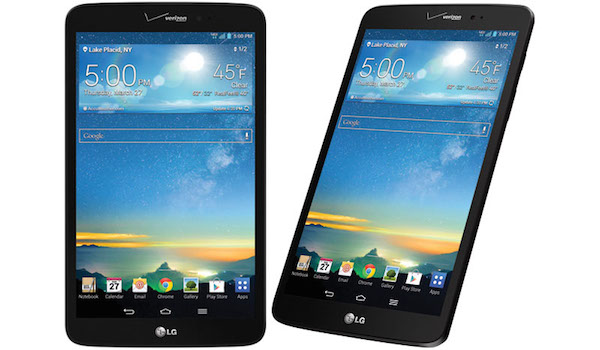
Another small but extremely useful feature that Google has introduced for developers in Android 4.4 KitKat is native screen recording capability. Sadly, the only way to use this feature requires access to a PC and ADB, which is a part of the Android SDK.
From the view point of a developer, a native screen recording function is a very welcome addition as it will help them in making app and game videos that suck less. If you are wondering how to use the native screen recording in Android 4.4 KitKat, below is a small step-by-step guide for it.
Step 1: First, you will need to get your hands on the ADB and Fastboot files for Windows or Mac. There is no need to download the whole Android SDK for this. Just download the appropriate zip file from below. Also, make sure to download the USB drivers, if you are using a Windows based PC.
Extract the contents of the ADB/Fastboot zip file inside a folder called ‘google’ on the desktop of your PC. Then, if you are running Windows, install the necessary drivers.
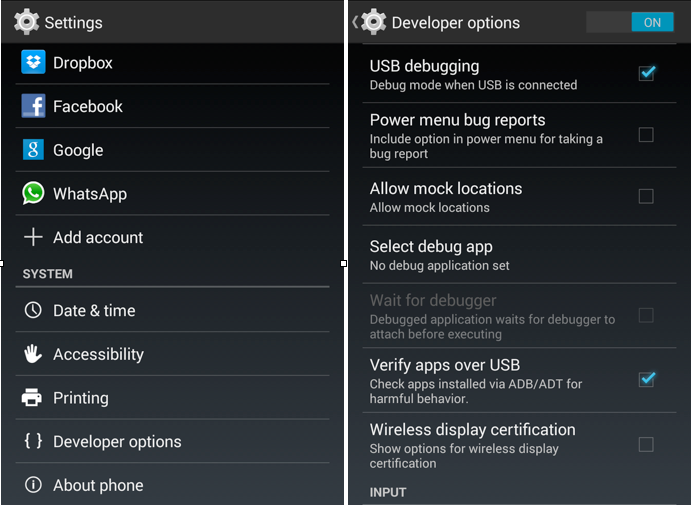
Step 2: On your Android device running KitKat, enable USB Debugging from Developer Options, which is hidden by default. To enable Developer options, head over to Settings -> About Phone/Tablet and tap on the Build Number seven times, after which you will get a toast notification saying “You’re now a Developer. (https://fujifilm-x.com/) ”
Head over to Settings -> Developer Options now, and then enable the ‘USB Debugging’ option. If you also want your on-screen touches to show in the video, enable the ‘Show touches’ option as well.
Step 3: You are now ready to record a video. Simply connect the Android device to your PC and start a new instance of Command Prompt in Windows or Terminal on Mac. You will now need to navigate to the ‘google’ folder you created on your desktop back in Step 1. You can copy/paste the following commands if you are not well versed with Terminal or Command Prompt.
cd desktop
cd google
If this does not work, enter “cd username” and then use the commands mentioned above. You can make sure if your device is being detected by adb or not by using the adb devices command. If you are using a Mac, you will need to prefix a “./” before every adb or fastboot command you run. So, adb devices will become ./adb devices on a Mac based system.
Step 4: Now, as soon as you enter the command below, the screen recording will start.
adb shell screenrecord /sdcard/filename.mp4
The filename can, obviously, be changed according to a user’s will. By default, the screen recording function creates 3 minutes long videos. At present, I am not aware of any way to increase this limit. If you want to record a video of less than 3 minutes in length, you can affix -time-limit to the above command. Make sure to enter the desired length in seconds though. By default, the video is recorded at the native device resolution. This can also be tweaked by using -size command.
Hopefully, custom ROMs will soon bring this feature to Android devices without the need for a PC or ADB.


