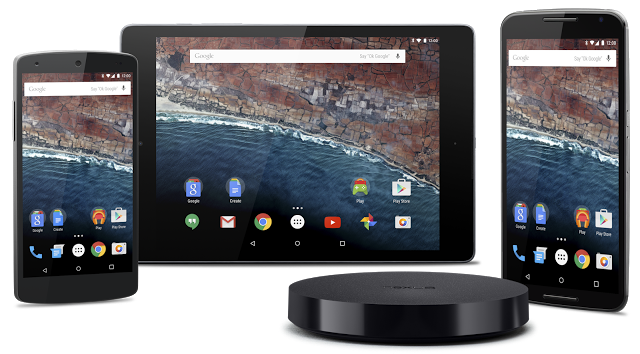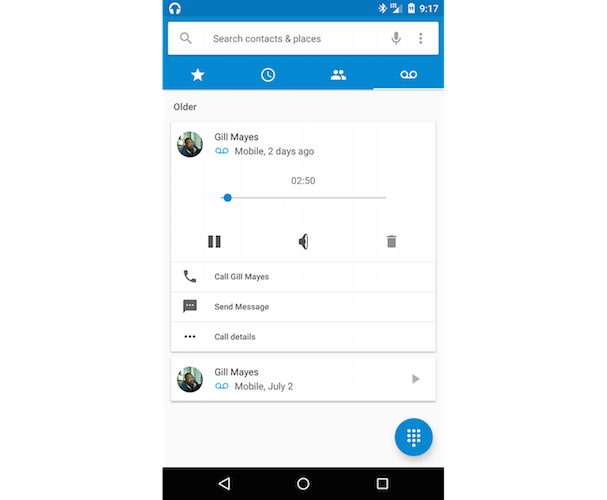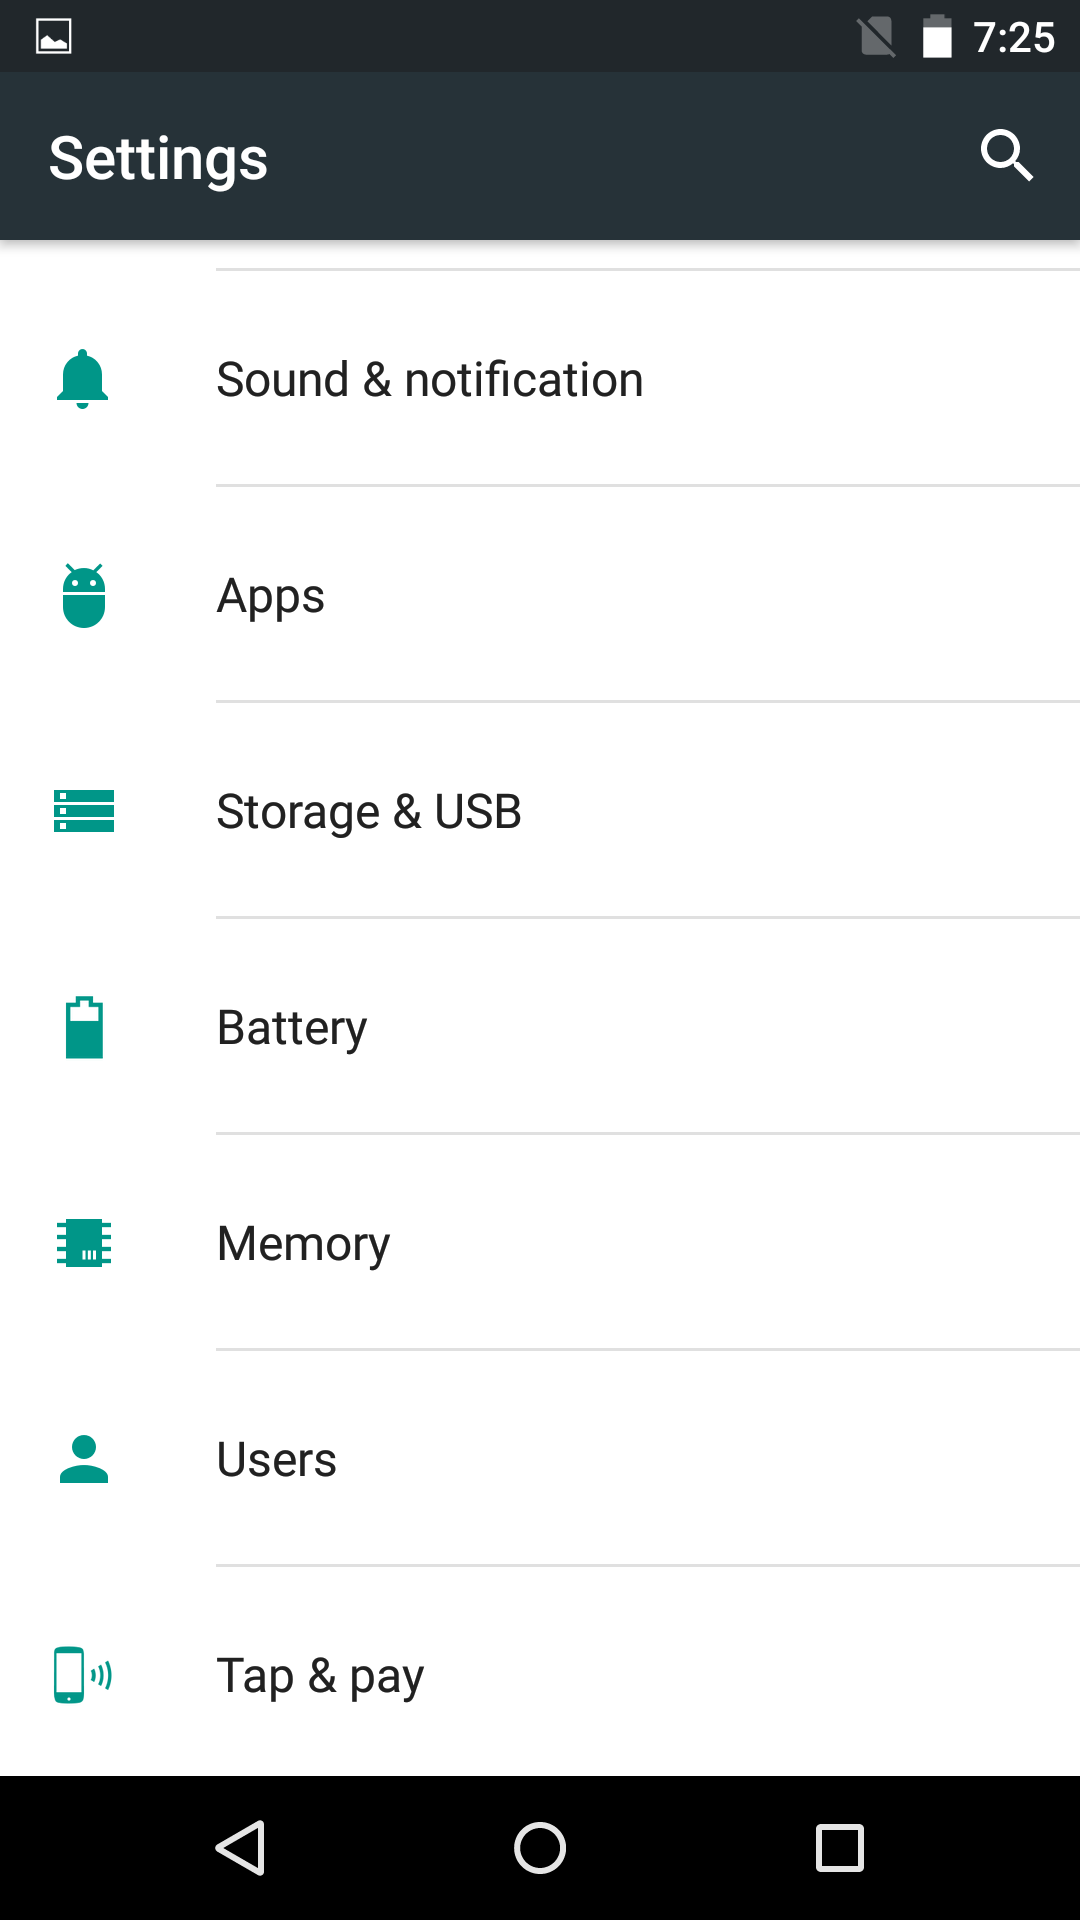
Google today released the second developer preview build of Android M for its supported Nexus devices. The latest build of Android M Developer Preview comes with some minor and major tweaks to the UI and features that were already present in the first build.
In case you did not install the first Android M Developer Preview build on your Nexus device due to stability issues, now might be a good time to do so since the second preview build comes with a lot of bug fixes. Wondering how to flash the factory image on your Nexus device though? Simply follow the steps below.
Note: Google has only released the Android M Developer Preview 2 builds for the Nexus 5, Nexus 6, Nexus 9, and the Nexus Player. Installing the developer preview build will wipe your device clean of all its data, so it is recommended that you create a backup of all your data before proceeding with the steps below.
Step 1: Download the Developer Preview factory image, ADB/Fastboot files, and the ADB drivers from below and transfer them to a folder called “android” on your desktop.
- Android M Developer Preview 2 factory image
- Minimal ADB/Fastboot for Windows
- ADB/Fastboot drivers for Windows
- ADB/Fastboot for Mac
Make sure to extract all the contents from the developer preview factory image inside the same ‘android’ folder. Additionally, Windows users will need to first install the ADB/Fastboot drivers on their PC, followed by Minimal ADB/Fastboot linked above. Make sure to not close the command prompt window that opens up after the installation of Minimal Fastboot is complete. Mac users will need to open a new Terminal window on your PC.
Step 2: Using the ‘cd’ command, navigate to the ‘android’ folder on your desktop. Example:
cd /desktop /android
Alternatively, Windows users can Shift + right click on the ‘android’ folder name and select the ‘Open command window here’ option.
Step 3: Switch off your Nexus device and boot it into fastboot/bootloader mode by pressing the key combination mentioned below:
- Nexus 5: Volume Up + Volume Down + Power
- Nexus 6: Volume Down + Power
- Nexus 9: Volume Down + Power
Once your device has boot into bootloader mode, connect it to your PC and run the following command in the command prompt/Terminal window that you had opened in Step 1.
Windows:
fastboot devices
Mac:
./fastboot devices
Mac users will need to prefix a “./” before every fastboot or ADB command that they execute.
Step 4: Proceed to unlock the bootloader of your Nexus device by executing the below command. You can skip this step if the bootloader of your device is already unlocked.
fastboot oem unlock
Make sure to confirm the selection on your Nexus device by pressing the Volume Up button.
Step 5: Once the bootloader has been unlocked, your device might automatically boot back into Android. Switch it off and then proceed to boot it into bootloader mode again.

Now, simply run the below command on your PC:
Windows:
flash-all.bat
Mac:
./flash-all.sh

If you get a fastboot not found error on your PC, open up the “flash-all.sh” file present inside the ‘android’ folder in TextEdit and prefix a “./” before every fastboot command present. Save your changes and then execute the command again.
Once the factory image has been flashed, your device will automatically reboot. Keep in mind that the first boot will take an extremely long time, so don’t panic thinking your device has entered into a bootloop.
If you are stuck at a particular step or need any help, drop in a comment and we will be glad to help you out.


