Google today released the first Developer Preview of Android O. The latest version of Android focuses primarily on power management and notification grouping, and it comes with plenty of new APIs allowing developers to create apps that will offer an even richer experience. If you want to install Android O on your Google Pixel, Nexus 6P or Nexus 5X then read on.
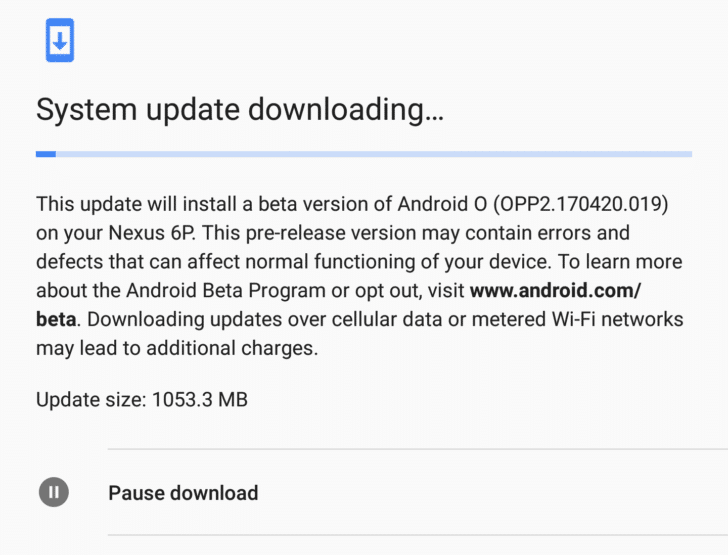
The first Developer Preview of Android O is strictly for developers and Google is not releasing it for consumers through its Android beta program. Instead, it has released the factory images of the OS for compatible Nexus and Pixel devices.
If you cannot wait for Google to roll out a Developer Preview of Android O through the Android beta program, you can always flash the factory image on your device. Don’t know the steps? Worry not as we have got you covered. While not as simple as enrolling into the Android beta program and installing an OTA, the steps are still pretty easy provided you can keep your cool for 5 minutes.
Before you jump to the steps mentioned below, there are a few things that you need to know.
- Flashing the developer preview of Android O will erase all your data and installed apps from the device
- Flashing the factory image requires that the bootloader of your device is unlocked
- You can flash back to Android 7.1 Nougat if you want to down the line, but that will again completely format the phone
- You must know your way around ADB and fastboot
How to Install Android O Developer Preview
With all the warnings out of the way, head over to the steps below to know how you can flash the first Developer Preview of Android O on your Pixel or Nexus device right away.
Setting up ADB and Fastboot
Mac: Follow this quick guide to set up ADB/Fastboot.
Windows: Download and install the 15-second ADB/Fastboot installer by following the instructions mentioned. Also, make sure to download and install the ADB drivers from here.
Unlock the bootloader
Step 1: Download the Android O factory image for your Nexus or Pixel from here.
(Optional) If the bootloader of your Nexus device is not unlocked, head over to Settings -> About Phone and tap on Build Number 7 times to enable the hidden Developer Options menu. Head back to Settings -> Developer Options and enable the OEM Unlocking option.
Step 2: On the desktop of your PC, extract the contents of the Android O factory image file inside a new folder called ”android”. It is extremely important that all the contents of the factory image are present inside it. Only extract contents from the zip file that you downloaded. There is no need to extract contents of various other zip files present inside the archive.
Step 3: If you are on Windows, Shift + right click on the “android” folder and select the ‘Open command window here’ option. On a Mac, open up Terminal, type “cd”, drag ‘n’ drop the “android” folder inside the window, and then press enter.
Step 4: Boot your Nexus or Pixel device into bootloader mode using the key combination mentioned below:
- Nexus 5X: Volume down + Power button
- Nexus 6P: Volume down + Power button
- Pixel: Volume Down + Power button
Step 5: Confirm that your device is being detected by your PC by running the following command:
fastboot devices
If detected, this command should return the Android ID of your device. If not, restart your Android device and PC. If that fails as well, reinstall the ADB drivers.
Step 6 (Optional): If the bootloader of your Nexus or Pixel device is not unlocked, run the following command:
fastboot oem unlock
You will have to confirm your selection by pressing the Volume Up button on your device followed by the Power button. Once done, your device should reboot. If not, reboot the handset manually. Once it boots back into Android, skip the setup process, switch it off, put it into bootloader mode and connect it to your PC.
Step 7: Now, run the below command to flash the Nougat factory image on your Nexus device.
Windows:
flash-all.sh
Mac:
./flash-all.sh

The script will automatically flash all the full Android O Nougat factory image on your Nexus or Pixel device. Once done, your Android device should automatically reboot into the OS. If not, manually reboot your device by long pressing the power button. The first boot can be lengthy but there is no need to panic. In case, your device enters into a bootloop, repeat the steps above.
To return to Nougat, you need to follow the same steps mentioned above but instead of the Android O factory image, you will have to use Nougat’s factory image. The steps to flash Nougat’s factory image on a Pixel or Nexus device can be found here.
If you end up installing the Android O Developer Preview on your Nexus or Pixel, do drop a comment and let us know how you are liking the latest and newest version of Android so far.


