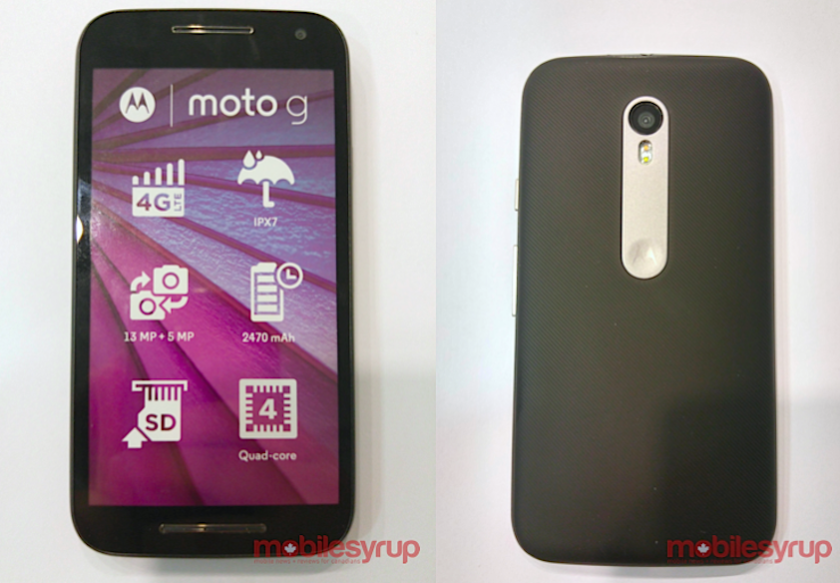
The Moto G (2015) is possibly going to be the hottest smartphone in the budget smartphone segment in developing countries like India and Brazil for at least the next few months. Considering the performance that the handset is able to deliver at a price point of only $200, this should not really come as a surprise.
However, if you are looking to further improve the experience of using your third generation Moto G, check out our list of the top tips and tricks for the handset below.
#7 Turn off the quick camera gesture
Just like the Moto X and other high-end devices from Motorola, the third generation Moto G comes with the company’s now famed twist for quick capture camera gesture.
However, unlike other Moto devices, this gesture on the Moto G is a bit too sensitive and sometimes automatically triggers itself. Thankfully, Motorola offers an option to disable this gesture, though it is buried deep inside the Camera app of the handset.
Simply open the camera app, swipe to the left to bring up the semi-circular settings menu, scroll down to the very bottom of the menu and tap on the gesture icon and then select the ‘Turn off’ option.
#6 Move apps to SD Card
The Moto G (2015) comes with 16GB of internal storage, out of which only around 12GB is available to the end user. This is more than enough storage space for casual consumers, but heavy gamers will run out of space on the device in no time. Since the handset comes with a microSD card slot though, you can install a memory card and move apps to it to free up internal storage.
While Motorola says that the Moto G supports cards of up to 32GB, I have personally tested and found that 64GB cards work just fine on the device as well.
You can find the steps to move apps to external storage on your Moto G (2015) here.
#5 Use Moto Assist

Motorola has updated the Moto Assist app on its 2015 lineup of devices, including the Moto G, to make it smarter. The app can now automatically trigger certain actions depending on your location. For example, you can set your Moto G to automatically silence all notifications or vibrate to notify once when you are at home or office or in a meeting.
To use Moto Assist, open the Moto app on your Moto G, tap on Assist and then tap the ‘+’ sign located at the bottom right corner of the screen to specify a location where an activity needs to be trigged followed by the activity itself.
#4 Enable ‘OK Google’
Unlike other OEMs, Motorola ships its devices with a near stock build of Android and the third generation Moto G is no exception to this rule. This also means that the handset comes with Google Now Launcher as the default launcher, which features ‘OK Google’ functionality. This feature will allow you to say “OK Google” followed by a command to execute tasks or do a quick Google search.
Considering how good Google’s voice recognition algorithms are and the ever increasing list of voice commands supported by Google Now, this is one feature that every third generation Moto G owner should have enabled by default.
To enable ‘Ok Google’ functionality on your Moto G, open Google Now, swipe from the left edge of the screen to bring up the navigation drawer and then tap on Settings. Now, head over to ‘Voice’ followed by ‘Ok Google’ and then follow the instructions shown on the screen to enable the feature.
#3 Pin Apps
Since the third generation Moto G runs a near stock build of Android, all the features added by Google to the OS are still intact. This includes the option to pin a specific app on the screen. With this option enabled, you can have only one app pinned on the screen of your Moto G and no amount of pressing the back or home button will exit the app. It is definitely a handy feature to have when you pass your phone to someone to show them a document or an image and don’t want them to press the back button and pry on your data.
To pin an app on the third generation Moto G, head over to Settings -> Security -> Screen Pinning and toggle the switch to on. Then proceed to open the app that you want to pin, hit the ‘Recents App’ button and select the pin icon being displayed on the app’s card.
#2 Smart Lock
Another feature of Lollipop that is intact on the third generation Moto G is Smart Lock. The feature removes the hassle of continuously locking or unlocking your device when you are in a secured environment. Using Smart Lock, you can set your third generation Moto G to automatically unlock when it is connected to a trust Bluetooth device, when you are at home or when it detects your face.
Smart Lock is among the best features introduced by Google in Lollipop, but since the feature is buried so deep within the OS, not many Android users know about it. You can access Smart Lock from Settings -> Security -> Smart Lock. Keep in mind that using Smart Lock requires that you have a pattern or a PIN lock already set on your device first.
#1 Customise Moto Display
By default, the Moto Display feature on the third generation Moto G will wake up the display on the device to notify you of any new notification. If you receive notifications from a lot of apps though, this can get a bit irritating. Thankfully, Motorola allows you to tweak the functionality of Moto Display through its Display app.
You can head over to the Moto app on your third generation Moto G, tap on Display and customise Moto Display according to your liking. The customisation options offered by the app include the ability to display notifications only from certain apps, not to wake up the screen when a new notification comes in, and more.
What are your favorite tips and tricks for the third generation Moto G? Drop in a comment below and let us know.


