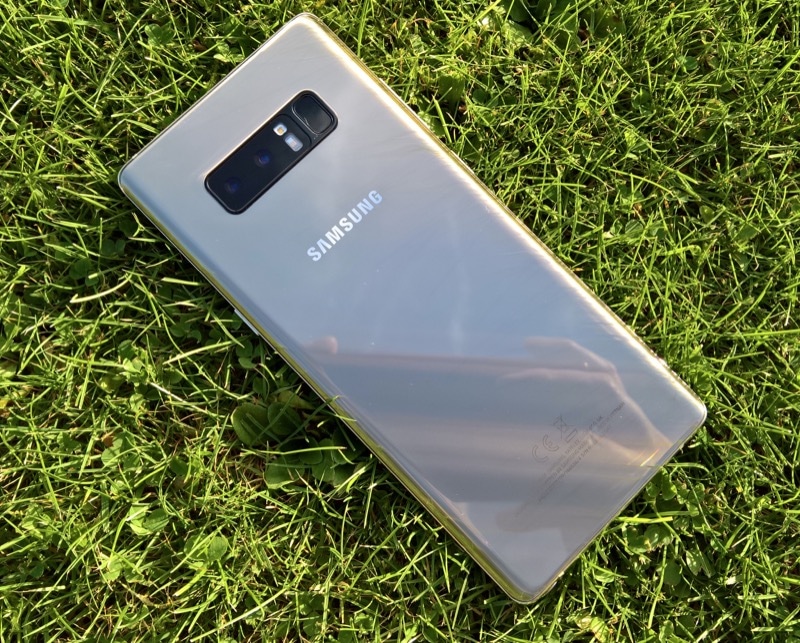
The Samsung Galaxy Note 8 is the first flagship device from Samsung to feature a dual-camera setup at its rear. The secondary 12MP telephoto lens features an f/2.6 aperture and OIS and allows the Note 8 to take some pretty incredible shots.
Overall, the Note 8’s camera is among the best you can find in a smartphone right now. And if you know the basic aspects of photography, you can make the most out of the camera by using the manual mode in the camera. If that’s not enough though, you can always shoot photos in RAW/DNG format on the Note 8 so that you can process them on your PC later on. Wondering how to shoot photos in RAW format on the Galaxy Note 8 though? Follow the steps below to know how.
Step 1: Open the default Camera app on your Samsung Galaxy Note 8 and tap the Settings button (cog icon) located on the top-right corner of the display.
Step 2: Tap on Picture size and from the menu that opens up, simply enable the ‘Save RAW and JPEG files’ toggle.

Enabling the toggle in itself is not enough to make your Galaxy Note 8 start saving photos in RAW/DNG format. You will also have to take all photos in the ‘Pro’ camera mode to ensure they are saved in RAW/DNG format. You can switch to the Pro mode on Galaxy Note 8 by swiping to the left from the camera viewfinder and selecting the relevant option.
If you know your way around Photoshop or any other image editor, you should be able to extract a wee bit more from the Note 8’s camera by manually tweaking the RAW/DNG photos shot from it. In the end though, do remember that we are talking about a smartphone camera here so the gains are going to be limited.


