Generally, once you root an Android device, a custom recovery is also installed along with it. However, there can be cases when you have root access on your Android device with no custom recovery installed.
Thankfully, if you have root access, installing a custom recovery is a fairly trivial task.
While there are a plethora of custom recoveries available for Android devices, TWRP and ClockWorkMod (CWM) are among the most popular and support a wide-variety of devices. I personally prefer TWRP to CWM since the former has a much simpler and touch-friendly UI to use, along with many advance features.
To install a custom recovery on your already rooted Android device, follow the steps below -:
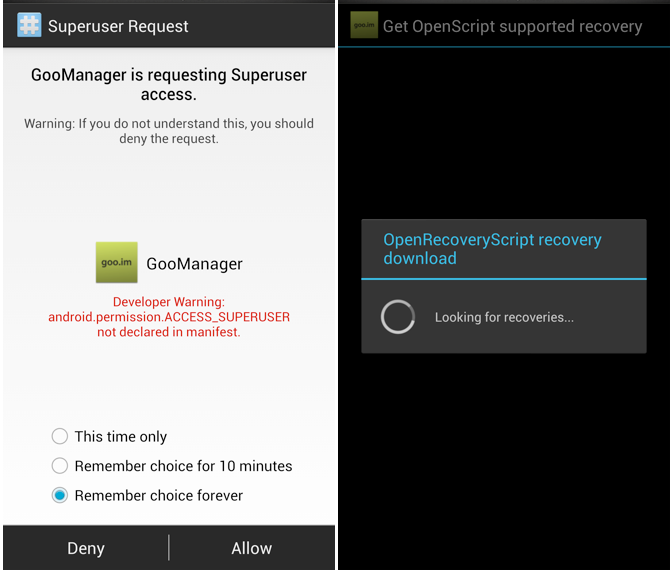
Step 1: Head over to the Play Store and download the Goo.im app from the Play Store. Start the tap, grant it root access and then tap the menu-overflow button at the top-right.
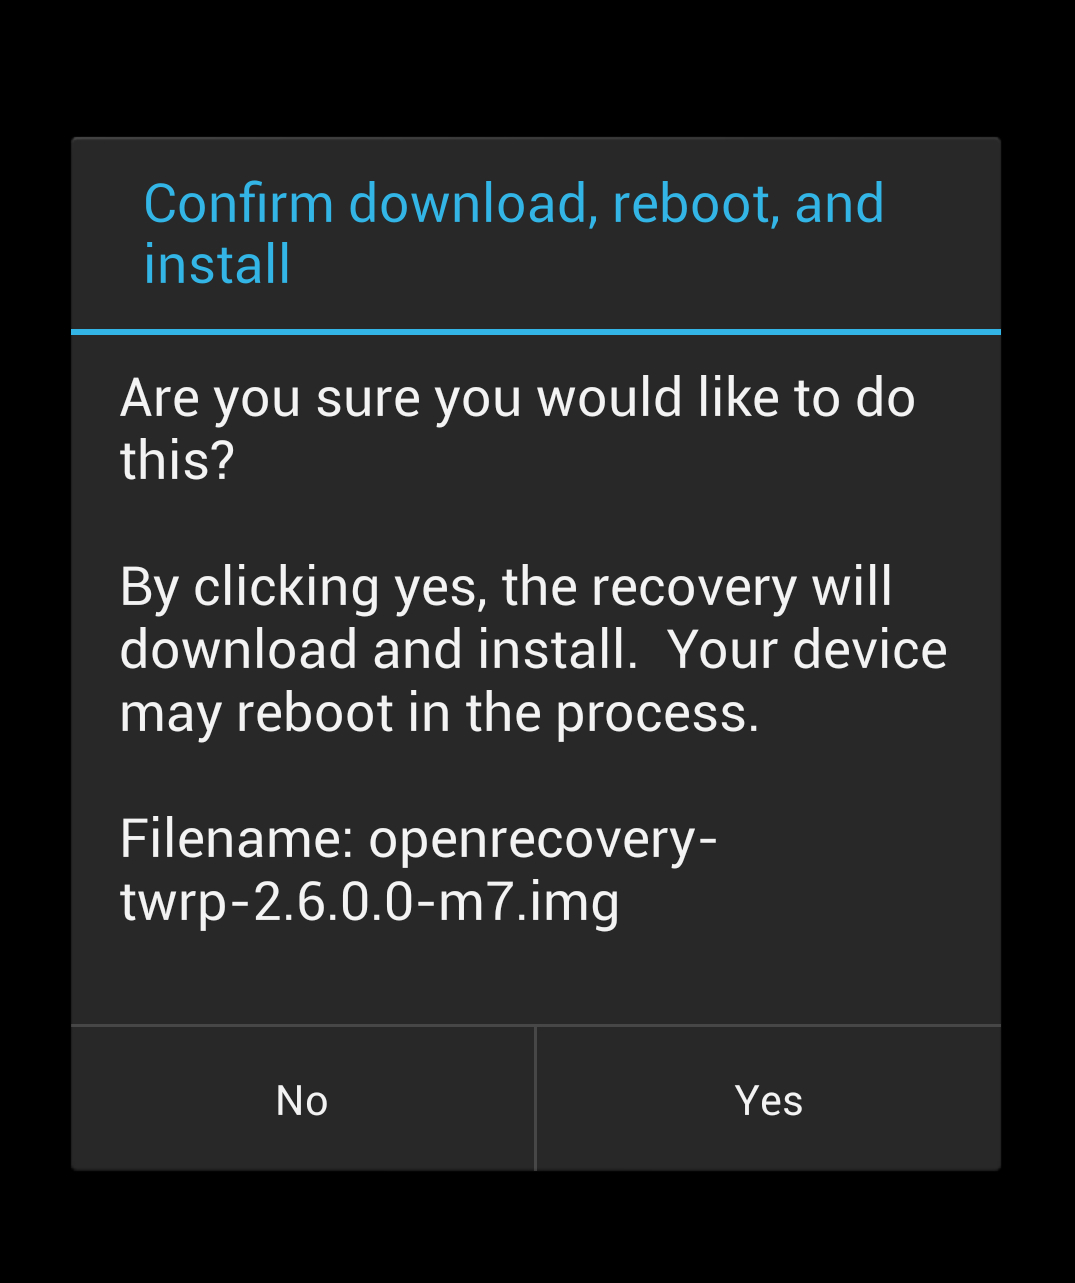
Step 2: Select the Install OpenRecoveryScript, and tap Yes on the Confirm Recovery Install pop-up. The Goo.im app will now search for the compatible recovery for your handset, and then show a pop-up asking you to confirm whether you want to flash the recovery or not. Tap the Yes option to proceed further.
Once the recovery has been downloaded, an automated script will run that will install the recovery and once again, reboot your device into the Android OS.
If you want to install CWM recovery, you need to download and use ROM Manager from the Play Store. However, keep in mind that the touch-version of CWM requires an additional 5$, along with the 5$ for the app, and compared to TWRP, the recovery is not really worth it.
With a custom recovery installed, you can easily install a custom ROM on your Android device in just a few steps. You can follow a generic guide on how to install a custom ROM on your Android device here.


